How to use setTimeout in React? Complete Guide with Examples

Over the past ten years, frontend technology has advanced significantly. It is now as easy to create a front-end web application as it previously was. There are several front-end frameworks and libraries available today. Each framework has a particular set of rules for doing things. Violating specific coding patterns may break the functionality of the frontend application or may degrade the performance leading to reduced accessibility. The React library also provides a set of rules and suggests specific coding patterns to ensure the application is performant and works as expected. One such pattern is applied while using the setTimeout and setInterval functions. In this article, we will discuss various ways we can use the setTimeout in react function in our React application. We will also look at a few good coding practices to ensure the application’s reliability and performance.
What is React.js?
To date, React.js is the most popular front-end JavaScript library. It got published in 2013. Facebook created and maintains it as an open-source software project. The React library is built solely for the application’s UI. It uses JSX or JavaScript XML to render the UI. To write JavaScript code directly inside HTML, JSX, or JavaScript XML employs an HTML-like syntax.
Although it’s an easy-to-use library, it imposes specific design patterns that, if not followed, may cause the application not to work as expected or degrade the application’s performance. One of the significant difficulties people face is while creating event listeners and timeouts.
What is setTimeout?
A setTimeout function is an API provided by browsers. It takes two arguments: a callback function and a time (in milliseconds). The setTimeout function acts as a timer, which runs inside the browser, and when the timer goes off, it runs the callback function we provided as an argument and is very useful when we want to run some code after a certain delay.
We use the setTimeout function as follows:
setTimeout(callback, time)Code language: JavaScript (javascript)Let us take an example to understand how setTimeout works.
setTimeout(function () {
    console.log('Hello from setTimeout')
}, 5000)Code language: JavaScript (javascript)
In the above code, we have a setTimeout function that takes the callback function that logs ‘Hello from setTimeout’ after a delay of 5000 milliseconds or 5 seconds. After that, we have a few more log statements. Let us now run the code and observe the output:
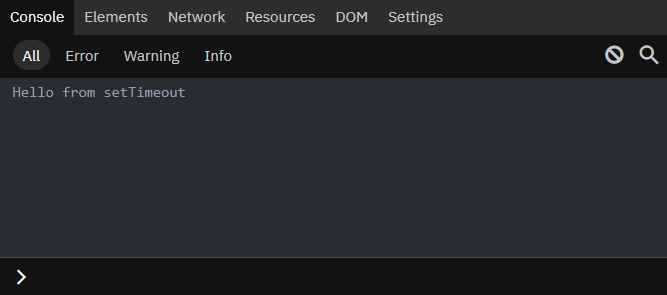
We can see that there are log statements printed, and then, after 5 seconds, the callback function runs and logs ‘Hello from setTimeout.’ It tells us that the setTimeout function does not block the main thread. In simple words, the JavaScript Engine will ignore the setTimeout function and executes the remaining code. After the timer goes off, the browser runs the callback function that we passed to the setTimeout function.
What is clearTimeout?
The setTimeout function returns us the timeout ID. The timeout ID is the ID of the timer that is running inside the browser. It uniquely identifies the timer inside the browser, since we, as a developer, may use any number of timeouts in our code and to keep track of all the timers, we need the timeout ID.
Let us take an example to see what the timeout ID looks like.
const timeout = setTimeout(function () {
    console.log('Hello from setTimeout')
}, 5000)

console.log(timeout);Code language: JavaScript (javascript)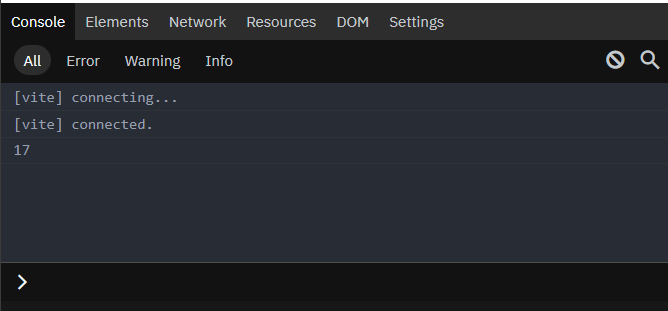
But what is the purpose of keeping track of the timers?
Sometimes, we may need to remove or clear a particular timer from the browser. In this case, we need the timeout ID to identify the timer to be removed or cleared from the browser.
But how do we remove or clear a timeout?
The answer is the clearTimeout function. It takes the timeout ID of the timer and removes the timeout from the browser. This can be quite handy in situations when we need to remove unnecessary timers from running to manage memory and improve the performance of the application.
Let us take an example to learn how to use clearTimeout.
const timeout = setTimeout(function () {
    console.log('Hello from setTimeout')
}, 5000)

console.log('Log 1')
console.log('Log 2')
console.log('Log 3')

clearTimeout(timeout)Code language: JavaScript (javascript)
In the above code, we create a timeout that logs ‘Hello from setTimeout’ after 5000 milliseconds (or 5 seconds). Then we create a few more logs and after that clear the timeout using the clearTimeout function. Let us now run the code and observe the output.
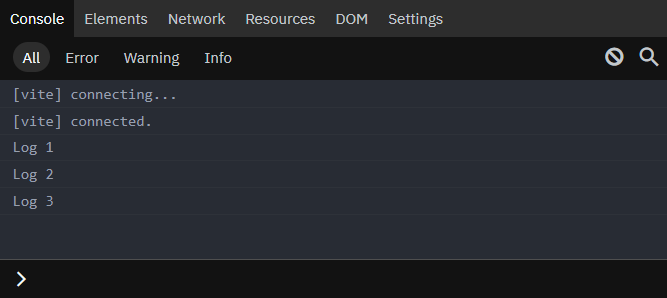
We see a few logs printed onto the browser console. But, even after waiting for 5000 milliseconds (or 5 seconds), the setTimeout callback function didn’t run. It happened because, after executing all the log statements, the timeout we created earlier doesn’t exist as we cleared it using the clearTimeout method. It means before the timer went off, the browser removed it from the browser.
Using the setTimeout function in React
Now that we have learned about the setTimeout function, we can learn its usage with the React library. In this article, we will be using React Functional Component (RFC) for the demonstration. With React functional components, we can use the React Hooks such as useState, useEffect, etc. to manage state and component lifecycles.
To create a timeout using the setTimeout function, we will require the useEffect hook. Creating the timeout directly inside the component is a terrible idea since when a component re-renders, React recreates all the functions again, and so is the setTimeout function. Therefore, on every re-render of the component, a new timeout is created. Soon, the timeouts will bloat our application leading to degraded performance, or the application becoming unresponsive to the user. Also, in a significantly large React application, there are many states that change leading to more re-renders.
Therefore, we will use the useEffect hook. It is a React lifecycle hook that we use to perform side effects when the component re-renders. It takes a callback and a dependency array. Callbacks are used to perform side effects, and dependencies are state variables that, when changed, trigger side effects. We will place our setTimeout inside the useEffect hook so that we have control over the creation of the timeouts.
Let us now learn various ways to use the setTimeout function correctly in React.
Creating a timeout on the initial render
If you just want to create a timeout once on the initial render, we will use the useEffect hook with an empty dependency array. In this way, we only create the timeout once during the initial render and not on further re-renders.
Let’s write some code to test this out.
function App() {
  const [count, setCount] = React.useState(1);

  React.useEffect(function () {
      setTimeout(function () {
          console.log('Hello from setTimeout')
      }, 5000)

  }, [])

  return (
    <div className="App">
      <h1>setTimeout tutorial</h1>
      <div>{count}</div>
      <button onClick={() => setCount(count + 1)}>Increase count</button>
    </div>
  );
}Code language: JavaScript (javascript)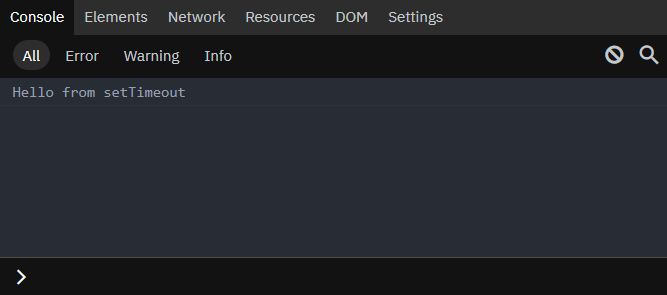
We have created a simple React functional component App, that displays a count and a button to increase the count. In the App component, we use the useEffect hook with an empty dependency array. Inside the useEffect hook, we place a setTimeout that logs ‘Hello from setTimeout’ after 5000 milliseconds (or 5 seconds). In the output, we can see a log of ‘Hello from setTimeout’ after 5000 milliseconds. Also, even if we change the count state using the button, there is no new timeout being created.
Create a timeout on re-renders
If you want to create a timeout on re-renders, for example, every time the component’s state changes, we will use the useEffect hook with a non-empty dependency array. In this way, we will run the side effect every time the state variables changes and create a new timeout.
But there is one caveat, every time we run the side effect, it creates a new timeout alongside the last one. Therefore, it will bloat our application with hundreds of unnecessary timeouts. To counter this issue, we must clear the previous timeout before creating a new one. To do this, we will use a cleanup function. We use a cleanup function to perform some cleanup before rerunning the side effect. It is a function returned from the useEffect hook’s callback, and React executes it on every unmount. In this cleanup function, we will remove or clear the previous timeout using the clearTimeout function. This way, we won’t end up with thousands of timeouts in our application.
Let’s write some code to understand the process.
function App() {
  const [count, setCount] = React.useState(1);

  React.useEffect(function () {
      const timeout = setTimeout(function () {
          console.log('Hello from setTimeout')
      }, 5000)

      return function ()  {
          clearTimeout(timeout)
      }
  }, [count])

  return (
    <div className="App">
      <h1>setTimeout tutorial</h1>
      <div>{count}</div>
      <button onClick={() => setCount(count + 1)}>Increase count</button>
    </div>
  );
}Code language: JavaScript (javascript)
We have used the useEffect hook with a dependency array consisting of the count state variable, which means the side effect will run every time the state count changes. Let’s run the code and observe the output.
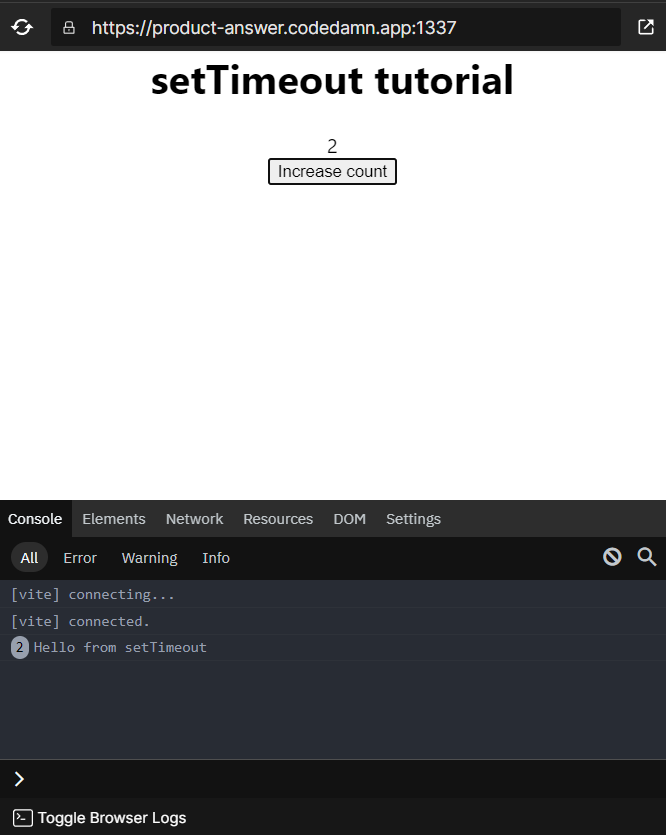
Every time the count variable changes, you can see that a new timeout is registered, and after the specified time has elapsed, ‘Hello from setTimeout’ is logged onto the console. Also, before creating a new timeout, we clear the previous one by writing a cleanup function. This way, the timeouts won’t bloat our application.
Bonus
Similar to setTimeout , we have a setInterval function that runs the callback provided to it every interval. And just like the clearTimeout function, a clearInternval function is used to remove or clear the interval from the browser. We can apply all the discussed ways to use the setTimeout function in React to the setInterval function.
For example, we can create a simple stopwatch like this:
function App() {
  const [count, setCount] = React.useState(1);

  React.useEffect(function () {
      const interval = setInterval(function () {
          setCount(count + 1);
      }, 5000)

      return function ()  {
          clearTimeout(interval)
      }
  }, [count])

  return (
    <div className="App">
      <h1>setInterval tutorial</h1>
      <div>{count}</div>
    </div>
  );
}Code language: JavaScript (javascript)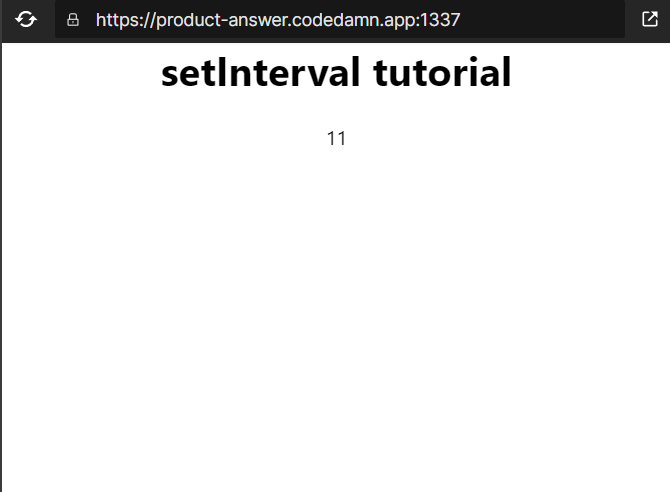
The dependency array contains the count state variable. Therefore, the side effects run every time the count variable changes. Inside the side effect, we create an interval that increments the count state variable. The clean-up function then clears the interval before rerunning the side effect.
Conclusion
Each framework has a particular set of rules for doing things and violating these may break the functionality of the frontend application or may degrade the performance leading to reduced accessibility. We use one such pattern while creating a timeout using the setTimeout function in the React library. A setTimeout function is an API provided by browsers. It acts as a timer, which runs inside the browser. To use the setTimeout function we use the useEffect hook in React to prevent the creation of multiple timeouts during re-renders. We use a cleanup function to clear the previously created timeout before running the side effects; to do so, we use the clearTimeout function.
You can find the complete source code at Codedamn Playgrounds
This article hopefully provided you with some new information. Share it with your friends if you enjoyed it. Also, please provide your feedback in the comments section.
Thank you so much for reading 😄
Sharing is caring
Did you like what Varun Tiwari wrote? Thank them for their work by sharing it on social media.
No comments so far
Curious about this topic? Continue your journey with these coding courses:

245 students learning
Ewomazino Akpareva
React - Beginner to Advanced (+ Redux & Ecommerce App)

169 students learning
Shubham Sarda
React JS Masterclass