How to create coding interviews on Codedamn?
In the rapidly evolving tech industry, creating high-quality interview exams has become more crucial than ever in evaluating a candidate’s capabilities and fit for a role. The precision in crafting these assessments directly impacts the effectiveness of the hiring process, ensuring that organizations can discern not only technical proficiency but also problem-solving skills and adaptability in potential hires.
This blog serves as the complete guide to understanding the Interview Management Panel at Codedamn. By the end of this blog, you’ll be able to create new interviews, manage existing interviews, invite students, and check data insights from your interview reports.
Let’s dive in
What are interviews?
First things first, let’s understand what exactly interviews are. An interview may have multiple definitions, but on Codedamn, we keep it simple.
An interview is a timed exam consisting of various questions ranging from MCQs, evaluative coding exercises, and articles. Interviews are completely customizable according to the skill set, level of difficulty you wish to target, and time range you want to test the candidate on.
On Codedamn, we have interview kits ranging from various stacks such as frontend, and backend to various individual languages such as JavaScript, React, etc. You can check them out here: https://codedamn.com/interview-kit.
Where to get started?
To get started on building and managing interviews, head over to organisation.codedamn.com.
Your organization address is set up at <organisationname>.codedamn.com, in case you do not have the web address for your organization, kindly contact your administrator. To set up your organization, reach out to us at: https://business.codedamn.com/
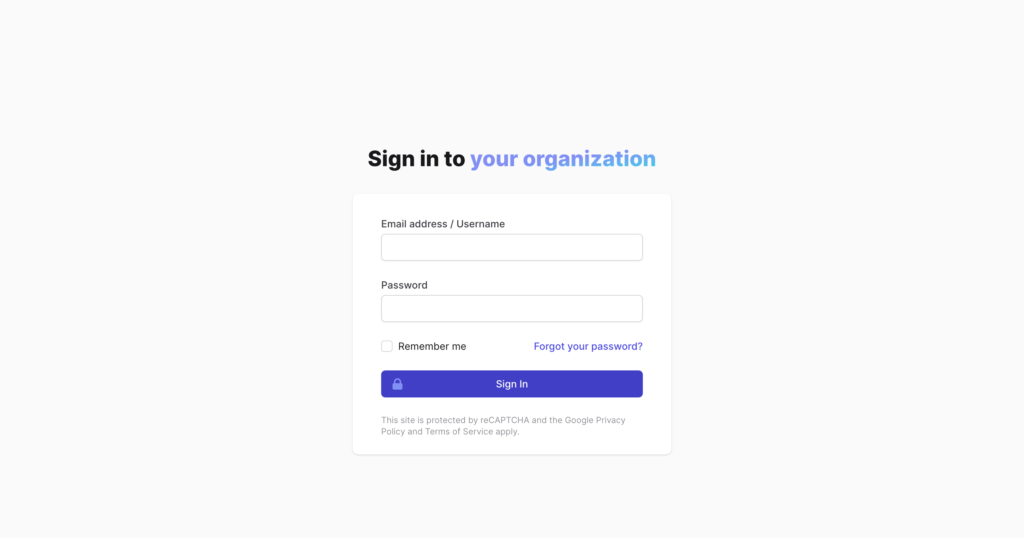
Once you visit your organization, you’ll be prompted to enter your login credentials. These credentials are shared with your organization’s admin, in case of any confusion, feel free to reach out to us at https://codedamn.com/contact.
Familiarising with the admin panel
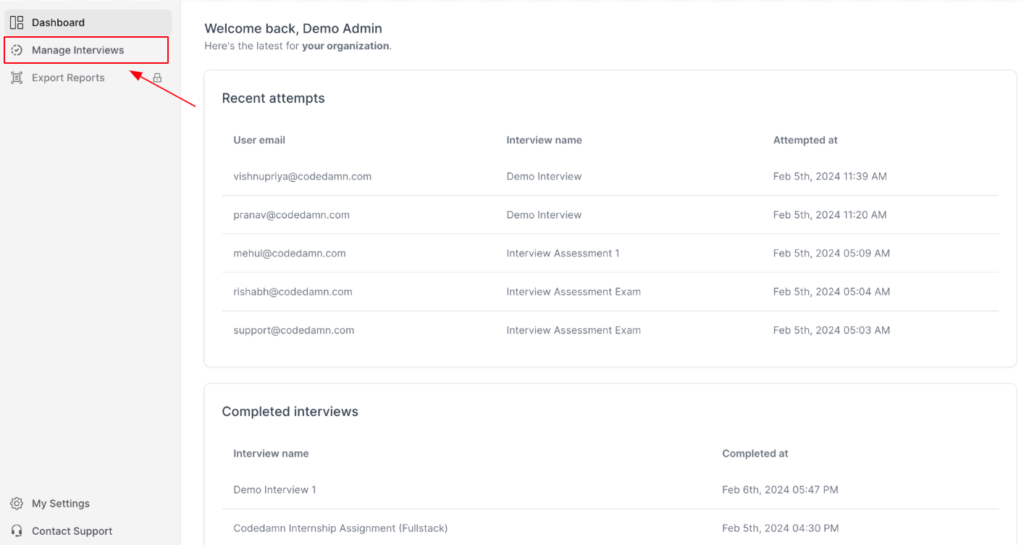
Once you’ve successfully logged into your organization, you’ll first see your dashboard. It’s important to familiarise yourself with the dashboard and the admin panel.
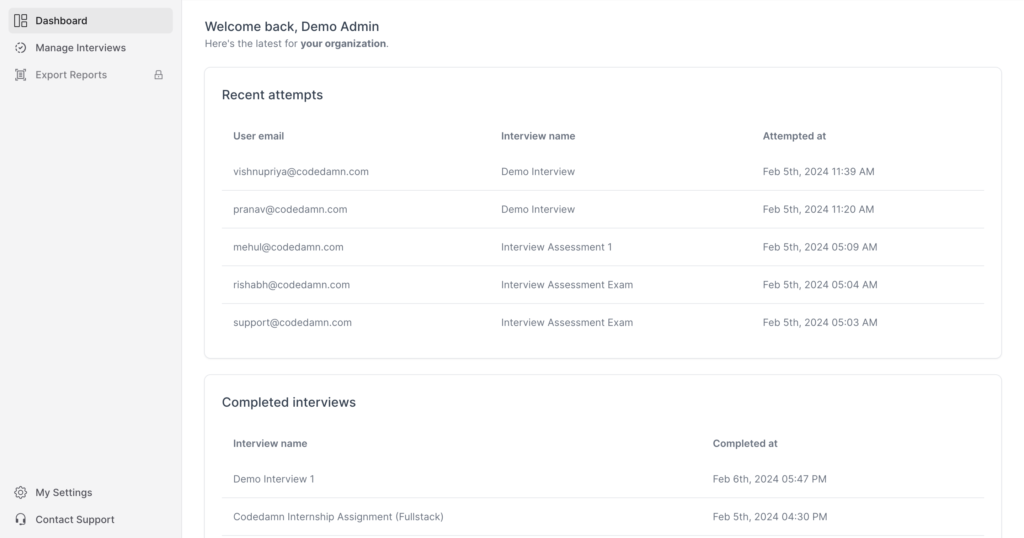
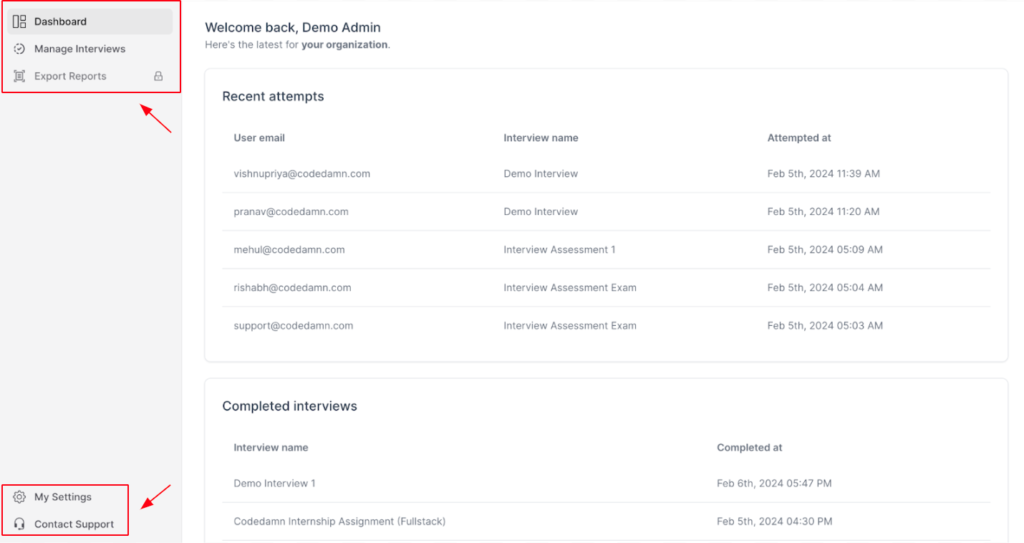
Towards the left navigation, you will have options to navigate to the dashboard, manage interviews, export reports, view settings, and contact support.
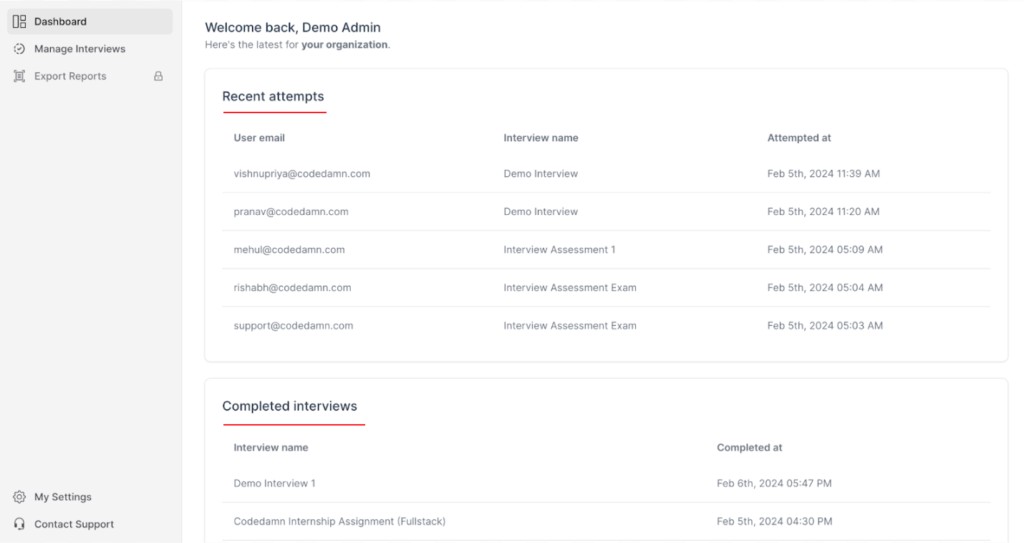
On your dashboard, you will get a quick overview to check the Recent Attempts as well as Completed Interviews. Recent Attempts shows you the latest interviews taken by the students whereas Completed Interviews displays all the interviews which have been done.
How to build interviews?
Step 1
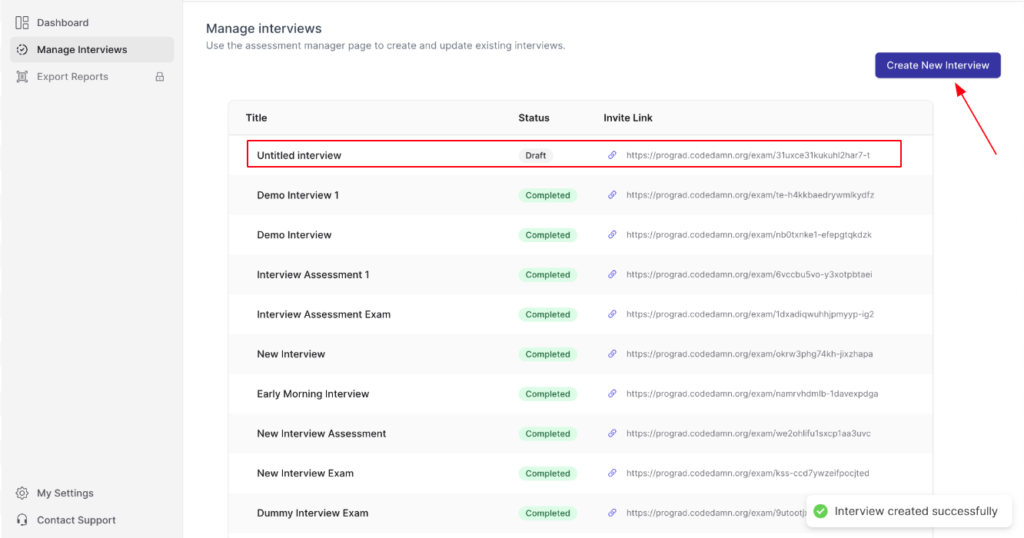
Here comes the most crucial section in the admin panel – managing and creating interviews. To get started on creating interviews, switch to the “Manage Interviews” section from the left navigation on your dashboard.
Once you click on “Create New Interview” on the right side of the screen, your new interview will be created and listed on the top as “Untitled Interview” in the draft mode.
Step 2
Once you click on the latest interview created, you’ll be prompted to a screen like this:
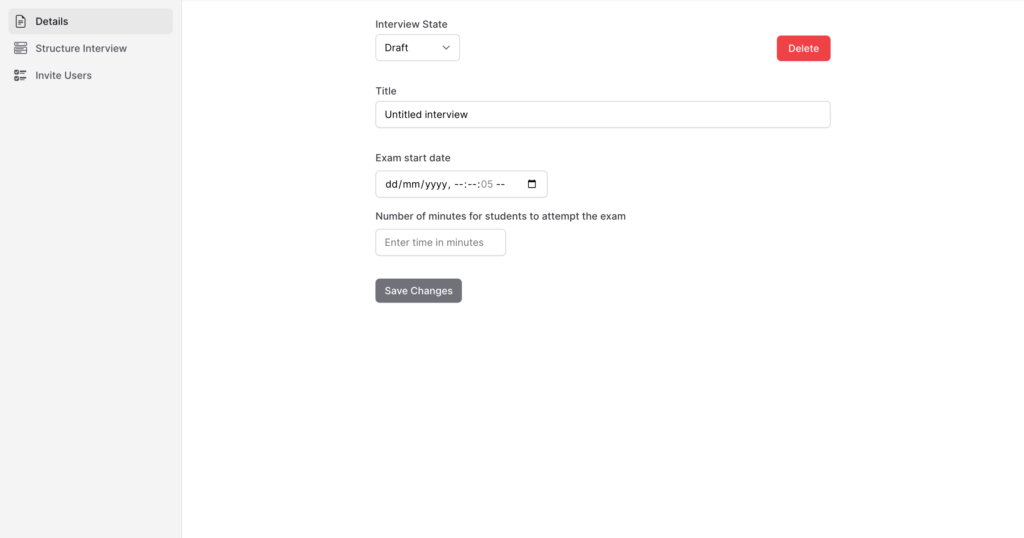
This is where you can fill in the basic details, give your interview a name, and set a start date and the time duration of the interview.
- The interview title will describe what the interview is about and will be the first thing your students will see before attempting the interview.
- The exam start date is the time when you want the interview to begin, for example, if you wish the interview to start at 03:00 PM, you should set the exam start date to 03:00 PM on the desired day.
- Similarly, in the number of minutes, you should enter the time for students to attempt the exam, ranging from 30 mins, 60 mins, 90 mins, or any duration of your choice.
- To finalize all the changes, click on “Save Changes”.
P.S. – Make sure to keep the interview in draft mode until you have finalized the interview and are about to invite students.
Step 3
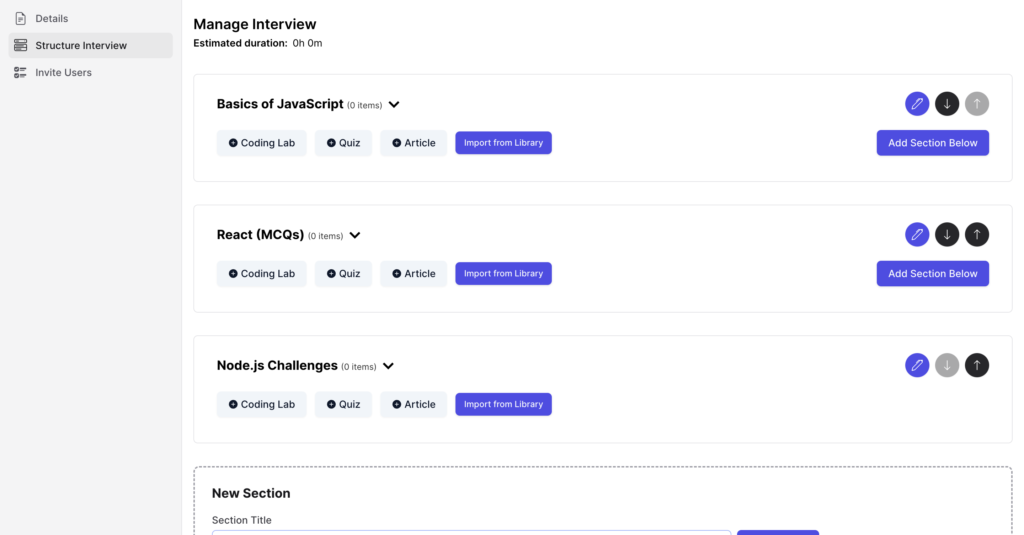
Once you’ve set all the details, switch to “Structure Interview” from the left navigation, upon so, you’ll be greeted with the below screen:
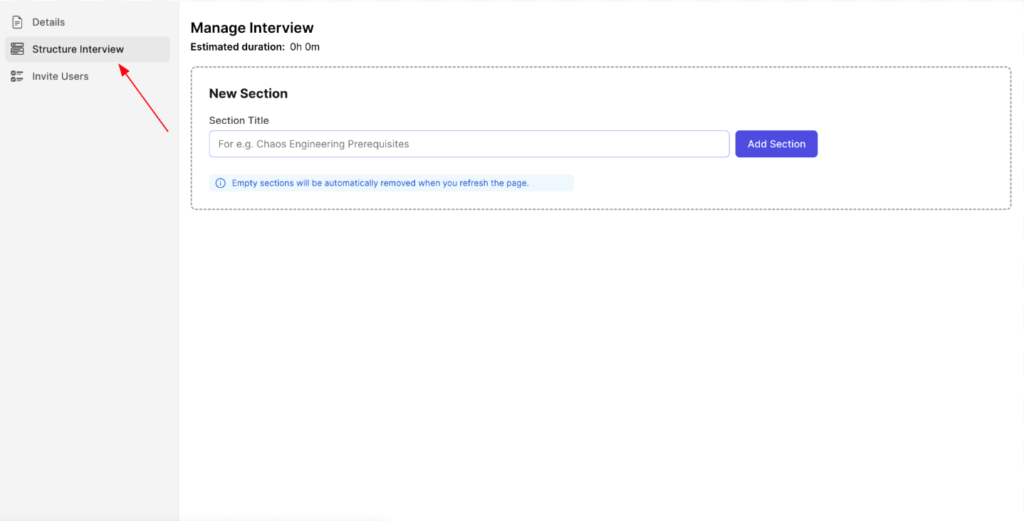
This is the place where you can structure your interview, build sections, and add questions accordingly.
To get started with the first section, click on the empty field in the new section, give it a title, and then click on “Add Section”, this will create a new section in your interview. For example:

You can similarly structure your interview by creating multiple relevant sections. You can also choose to add, remove, or reorder sections later – totally up to you!
Step 4
Once you’ve set up a basic structure with sections, it’s now time to add questions. In your interview, you can add questions through two ways:
Manually create questions: coding labs, interactive quizzes, articles, etc.

Or, import existing questions from the content library.
We’ve created thorough documentation on how to create coding exercises and interactive quizzes, you can check it out here: https://teach.codedamn.com/docs/instructor-guides/playground-in-article.
Furthermore, if you need assistance setting up an interview for your organization, reach out to our support and we’ll help you get started:
We’ll talk more about how you can use the content library to add interview questions, in the next section of this blog.
What is the content library?
The content library on Codedamn is an extensive library consisting of coding questions ranging in various languages such as React, Python, JavaScript, C++, etc, and various stacks such as Fullstack, Backend, Web3, DSA, Frontend, etc.
These questions can be filtered based on the type of questions, like quiz items, interactive coding exercises, or DSA/ IO labs, based on difficulty level, ranging from easy, medium, and hard, and based on tech stack (language).
The content library contains questions prepared by team Codedamn and is used by creators across the platform. Part of the content library can also be made exclusive to organizations, upon request.
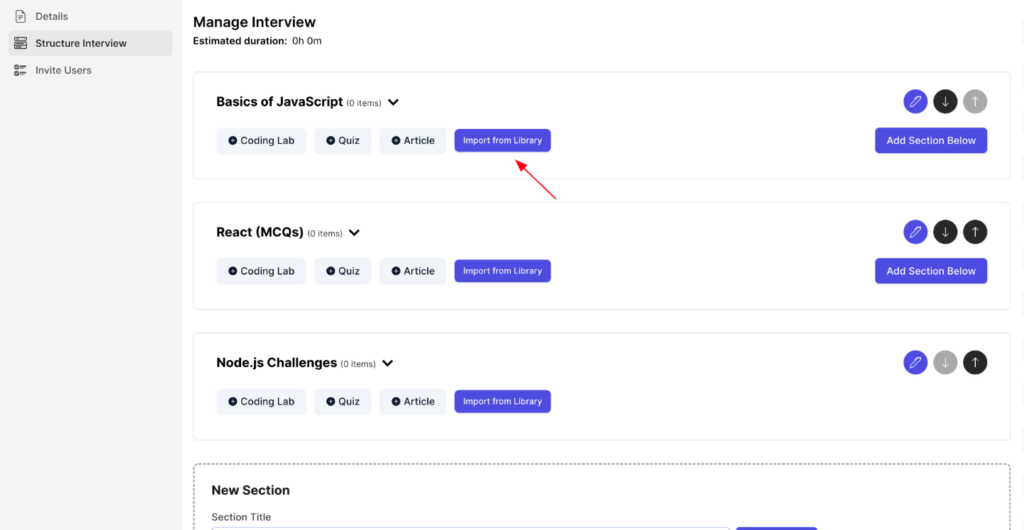
How to import questions from the content library?
To import questions from the content library, simply click on “Import from Library”.
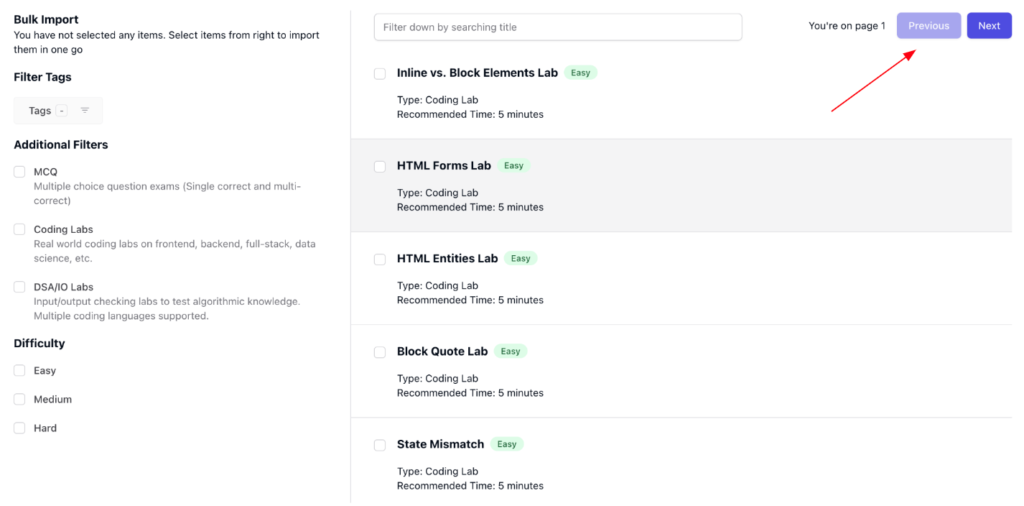
Now, you’ll see a screen with various questions.
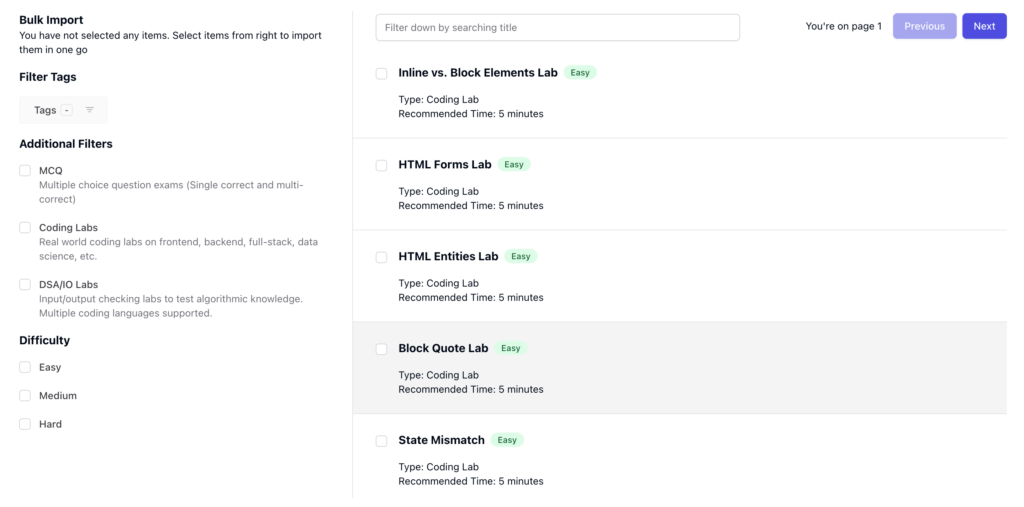
The content library contains 5000+ (and growing) questions, thus, to narrow down your search to specific questions, use the filters provided on the left.
Use the navigator on the top right to switch to the next or previous pages and discover more questions.
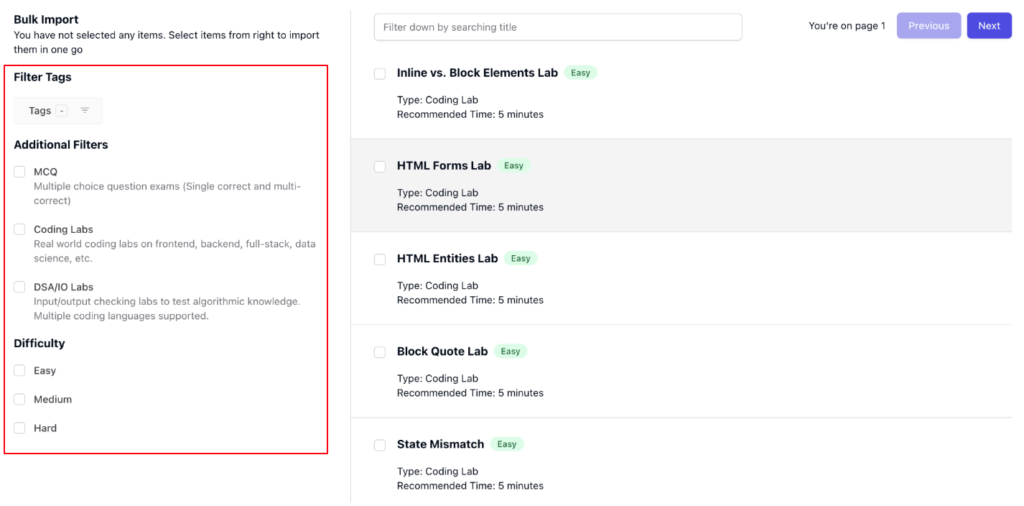
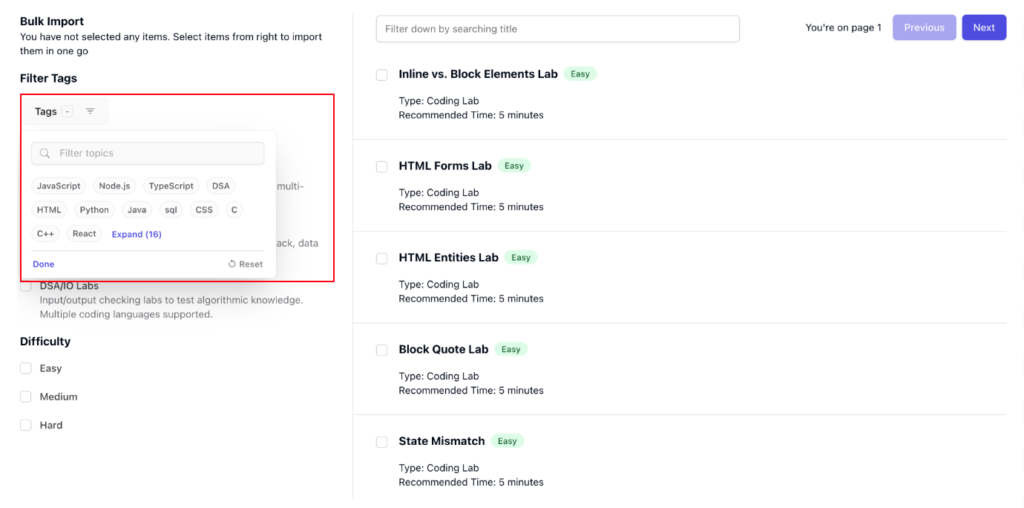
On the left side, use the “Tags” filter to add tags that are relevant to your requirements.
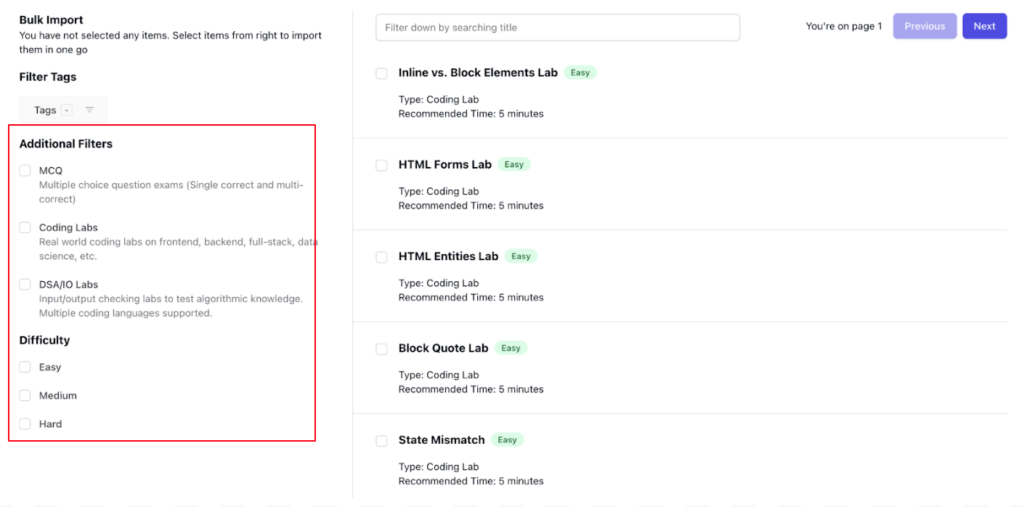
Similarly, set the difficulty accordingly and surf from various question types such as MCQs, Coding Labs, and DSA/IO Labs.
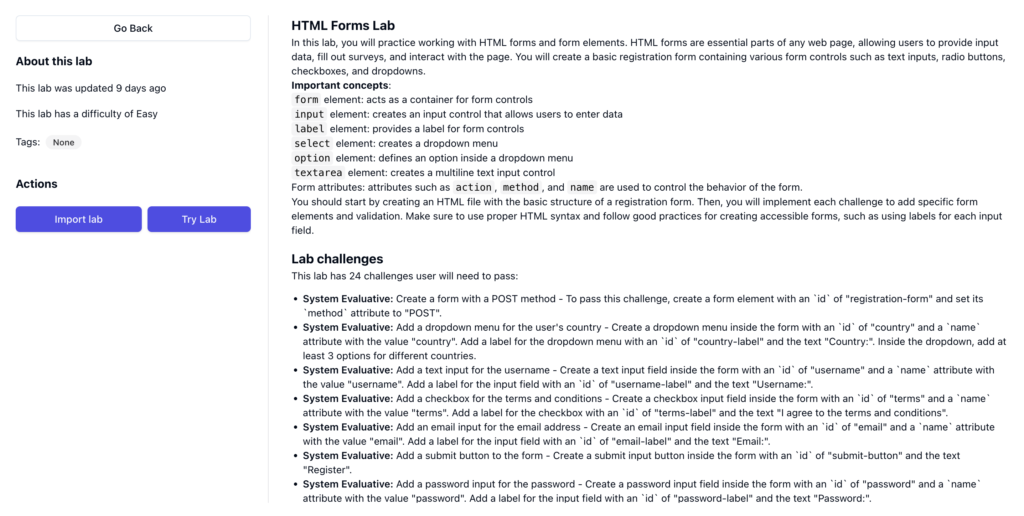
Once you find a question suitable to your needs, simply click on the question to get an expanded view.
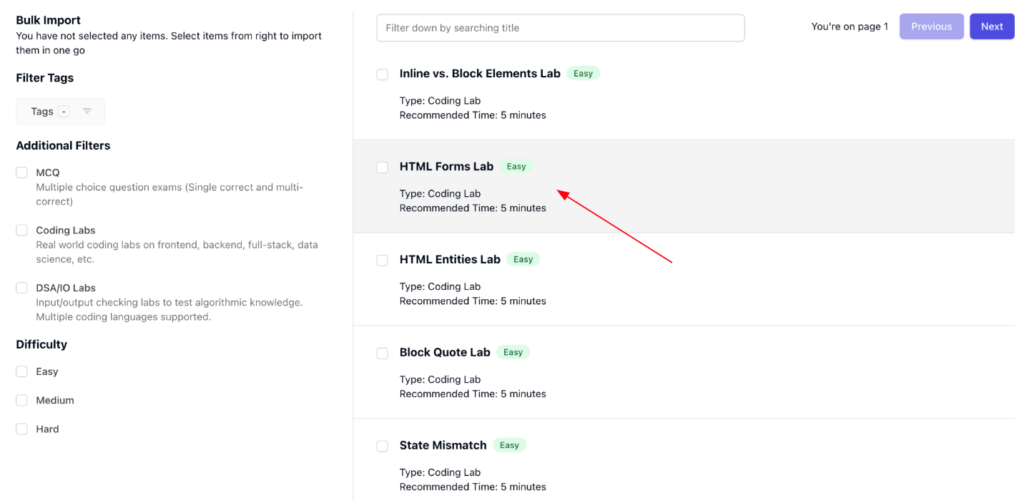
Once you click, you will see detailed information about the lab, including its description, and challenges.
Similarly, in the case of quiz questions, you’ll be able to see all the questions as well as the choices and correct answers.
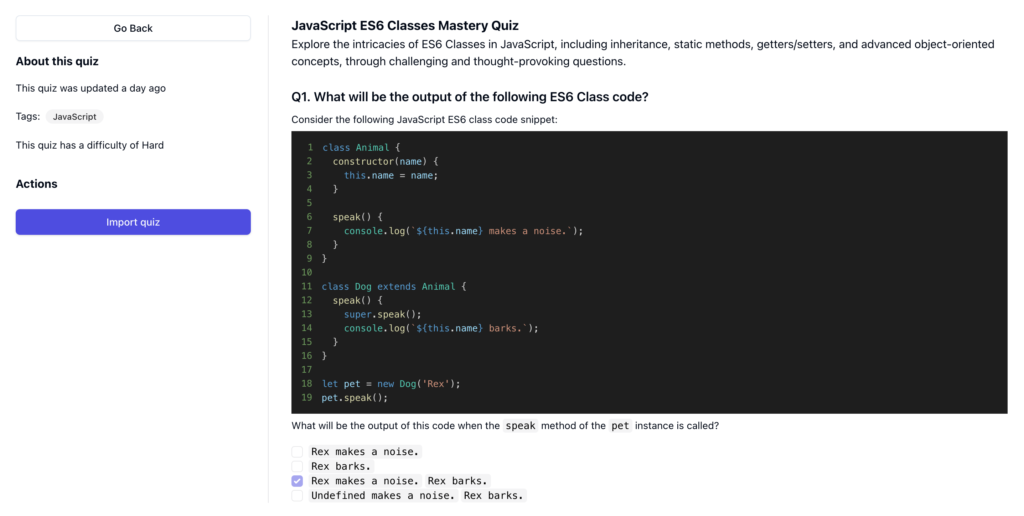
You can also try the questions on your own to get a better experience.

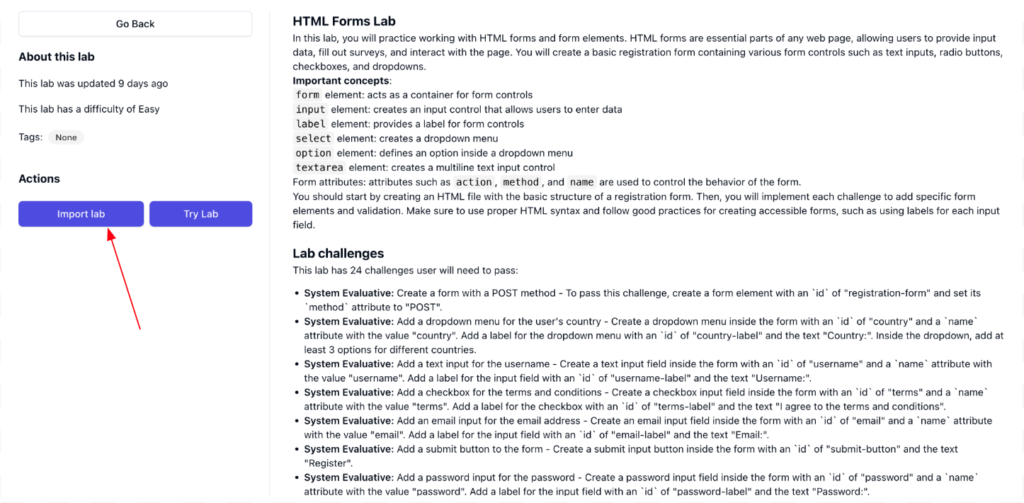
Simply click on the “Import Lab” button to import the question into your interview.
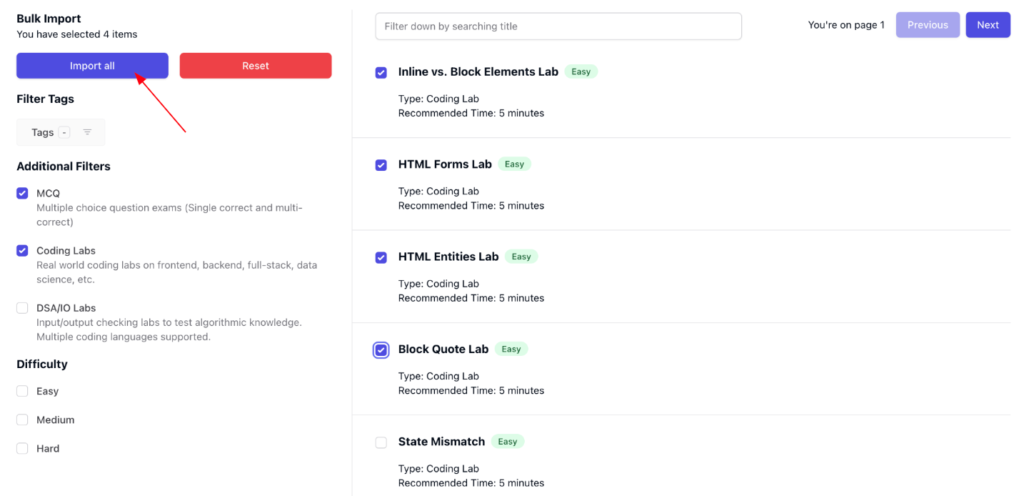
If you want to import multiple questions at once, simply select all the questions and click on “Import All” with the Bulk Import functionality.
How to invite students?
Now that you’ve set up your interview, go back to the “Details” section to change the state of the interview to “Published”.
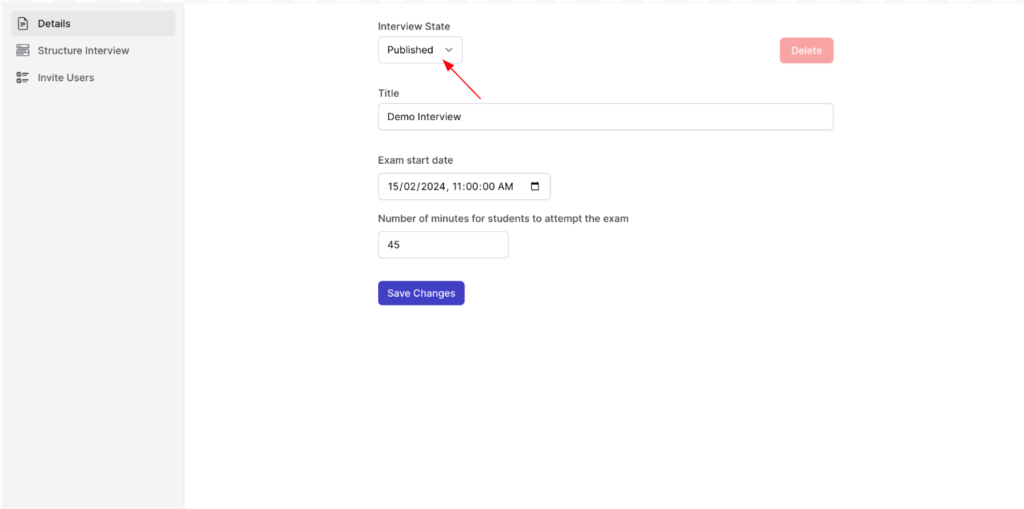
Remember that you will not be able to invite students, until and unless the interview is in published state.
To invite students, navigate to the “Invite Users” screen from your dashboard. You’ll see a screen similar to this:
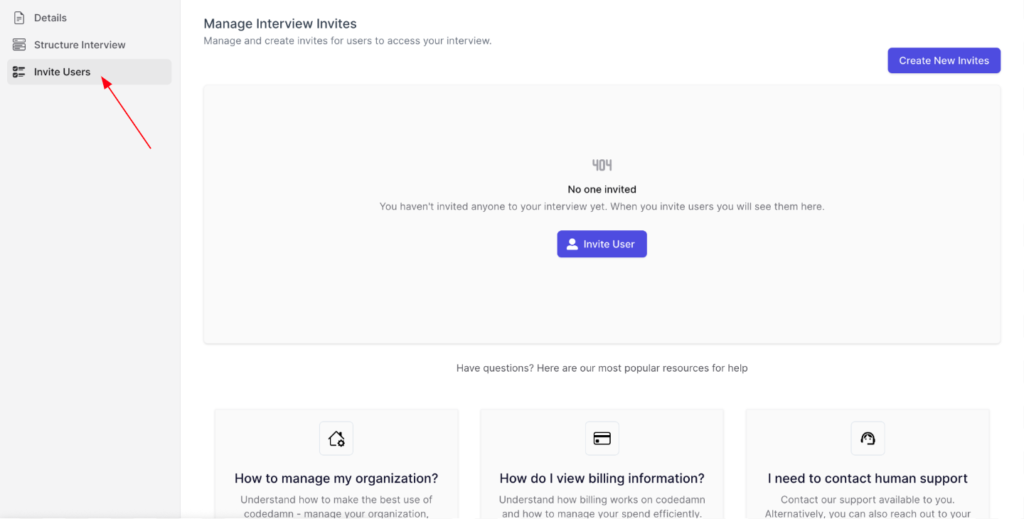
Now, simply click on the “Invite Users” button in the center and add the email addresses of the students you wish to invite, each separated by a new line.

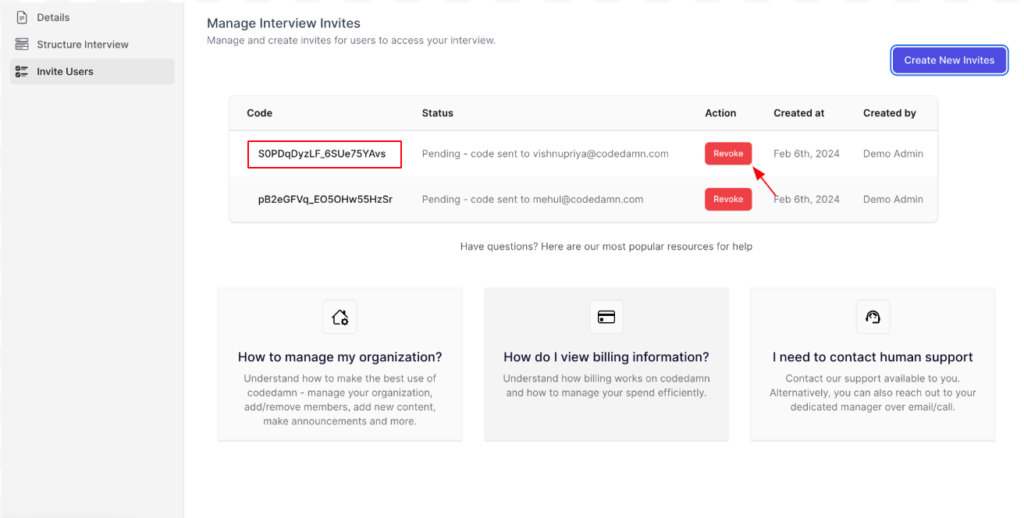
Once you click on “Send Invites”, all these students will be notified about the interview through an email sent by Codedamn.
On your invite user dashboard, you will see all the students who have been invited, their status, as well as their code. You will also have the ability to “Revoke” a student’s invite, upon doing so they will not be able to attempt the interview.
How will the students be notified?
Every student invited will receive an email immediately through Codedamn.
In the email, they will receive their invite code, as well as an interview link. Upon clicking on the interview link, they will be redirected to the interview page. However, they would need to enter their invite code to attempt the interview. This invite code is mandatory and unique for everyone as it unlocks their access to the interview.
In case the email does not reach the student, the admins will be able to see the invite access code in their admin panel and can share it with the student. However, the probability of such a case occurring will be very highly unlikely.
Please note that the access code can only be redeemed once. A student will not be able to use it twice, and only one interview attempt can be given from one access code.
FAQs
1. While creating an interview, can the sections be reordered once created?
Yes, the sections can be reordered after they’re created. You can move the sections up, and down as per your requirements.
2. Are the sections customizable for marks?
Yes, the sections/questions can be customized for an individual marking scheme as per the organization’s needs.
Yes, the interviewee can navigate between sections in their interview.
There can be hidden test cases for the interviewees to address. This completely depends on the organization’s requirements.
5. Can there be video proctoring via webcam?
Yes, optionally there can be a video proctoring feature that records the interviewee’s video via webcam.
6. Can an invite link be created for an interview for bulk sends?
Yes, an invite link can be created for bulk sends.
7. What sort of reporting and data insights will be provided?
We log all user activities in our systems, thus, we can provide all and any data insights you may need. Commonly, we’ll provide individual user reports, organization-level reports as well as interview-level reports. Any data on top of this can be requested.
8. Can organizations integrate external tools for plagiarism checks?
Yes, we can integrate CopyLeaks as an external plagiarism (paid tool) check, as per the organization’s needs.
9. Will there be any internal org-wide checking for code plagiarism?
Yes, there can be an internal organization-wide check for plagiarism.
10. Can questions previously used in interviews be auto-detected while creating new interviews?
Yes, already used questions in past interviews can be labeled so that fresh questions are added while creating new interviews.
11. Can content specific to an organization be added to the content library?
Yes, content-specific and exclusive to an organization can be added in the content library which will only be visible and available to that organization.
In case there’s any feature or functionality you’d like to request, please reach out to us at [email protected] or visit codedamn.com/contact with your query. We’d also be happy to clear up any doubt or confusion regarding the interview process.
Happy coding,
Team Codedamn
Sharing is caring
Did you like what Mehul Mohan, Vishnupriya, wrote? Thank them for their work by sharing it on social media.
No comments so far
Curious about this topic? Continue your journey with these coding courses:

